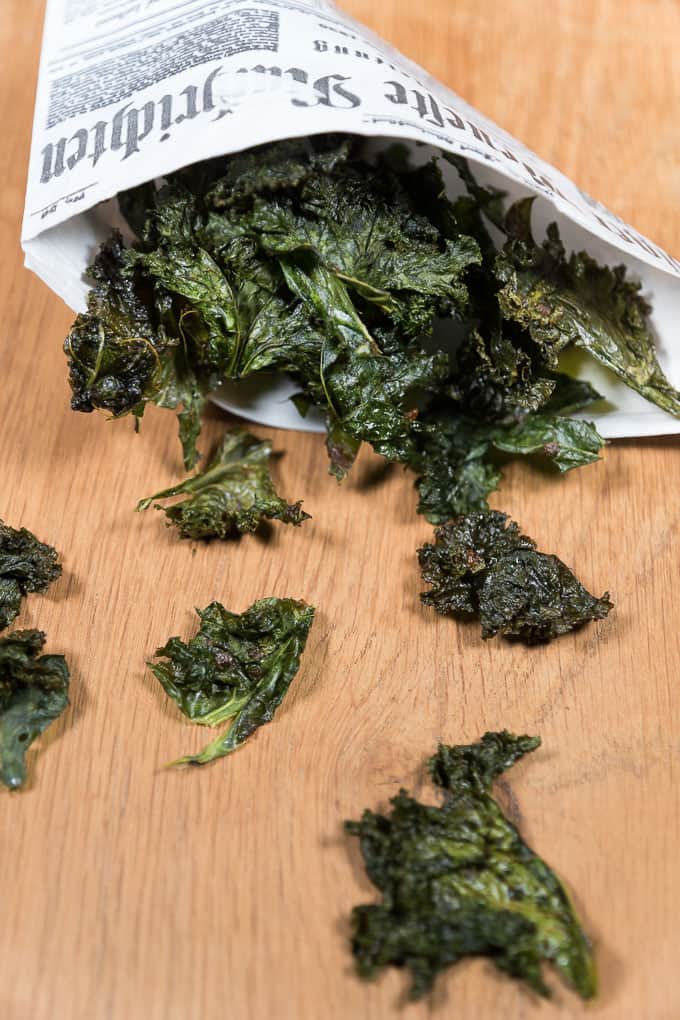
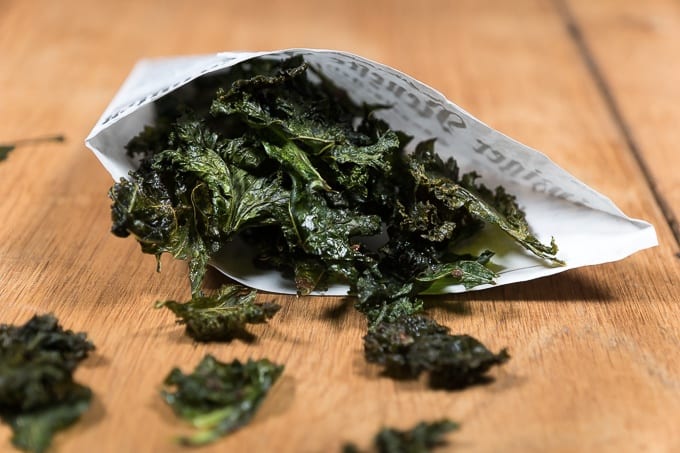
Four years ago I had no idea what kale is. If my eye caught a glimpse of it in the vegetable section of my favorite organic grocery store, I certainly mistook the curly kale for lettuce because of its crinkly leaves. How much can change in four years! Who would have thought that one day I would be looking forward to kale season? That’s exactly what I’ve been doing since I ate home-made kale chips for the first time. Oh, how delicious they are! How crispy! How addictive! And no, they do not taste like grass or greens or the sometimes tasteless vegetable chips (especially the store-bought ones, yikes!).
The kale chips have exceeded my wildest expectations! And this confession comes from an enthusiastic potato chip eater. In my opinion, kale chips are in no way inferior in crispness and delicacy to the more famous potato crisps. In addition, the kale chips come with fewer calories and with the fact that it's easy to make them at home.
In this recipe, I tell you my base spice mixture for kale chips, which consists only of olive oil, salt, and nutritional yeast. Basically, some oil and salt are enough for seasoning, but the nutritional yeast intensifies and deepens the flavor. A delicious addition to the spice mix is a crushed garlic clove or other spices such as paprika or chili powder. Just experiment with what you like best.
Another tip: Use kale as fresh as possible, as it wilts very quickly (even in the fridge).
🍽 Recipe
Crispy Kale Chips – The Healthy Savory Snack
Equipment
- You’ll need 3 baking trays lined with parchment paper. This makes one large bowl of kale chips, serving 2-3 people.
Ingredients
- 3 large kale stems with leaves
- 2 tablespoons olive oil
- 1 teaspoon salt
- 2 tablespoons nutritional yeast
Instructions
- Preheat the oven to 100° C (212° F). No need to go any higher with the heat as the kale chips have to be dried rather than baked.
- Pluck kale leaves from the stalk or cut them along the stem with a knife. Then pluck or cut the leaves into roughly equal pieces; this ensures that the leaves are dried more evenly in the oven.
- Thoroughly wash the leaves, then dry well between two kitchen towels. Drying is a necessary step, otherwise, the leaves will take longer to crisp in the oven or they will become soggy as they are "steamed" by the water rather than dried.
- Mix olive oil, salt, and nutritional yeast into a paste.
- Spread the paste on the kale leaves. It's best done with the hands to ensure that all kale leaves and all the nooks and crannies are coated.
- Spread kale into a single layer on each of the three baking sheet (lined with baking paper). It’s important that the leaves are not too close together (or even overlapping) to dry evenly.
- Place the baking sheets in the oven for about 30 minutes. Open the oven door every 10 minutes to release excess moisture. There is no need to flip the chips.
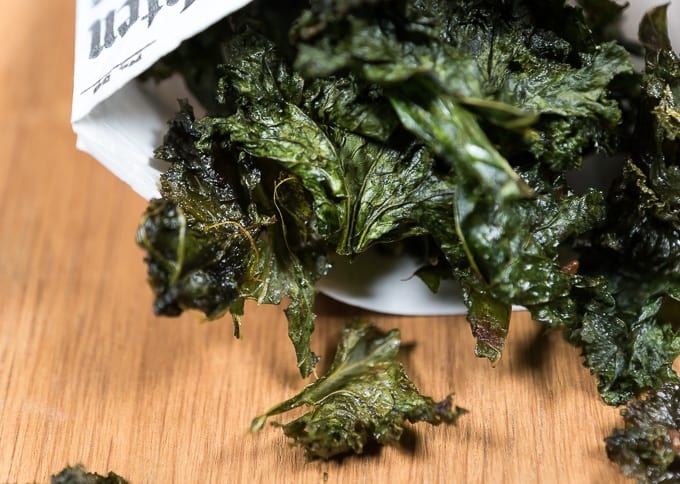
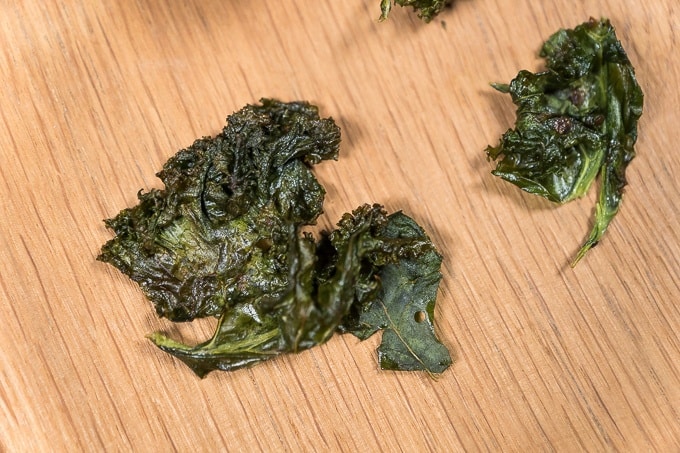
- Check after 30 minutes if the chips are crispy. If most are still soft to the touch in the middle, put the baking sheets back in the oven for another 5-10 minutes. The chips are ready when they turn slightly brown on the edges (but don’t let them turn brown completely) and when they are super crunchy with the consistency of parchment.
- Remove all crunchy chips from the baking sheets and let the remaining chips continue to dry in the oven. In my oven, the chips on the top sheet are finished first. This will vary based on your oven, therefore please check the crispness of the chips at the end again and again.


Write a Comment